
A Comprehensive Guide to Replacing the 12014 Oxygen Sensor in Your Suzuki Car
In the realm of automotive news, we embark on an exploration of a crucial component that plays a pivotal role in your Suzuki car's performance – the 12014 Oxygen Sensor. This article serves as your comprehensive guide to understanding the significance of this sensor and walking you through the essential steps to replace it when the need arises.
Unveiling the Importance of the 12014 Oxygen Sensor
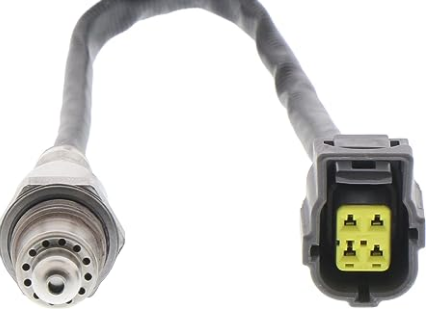
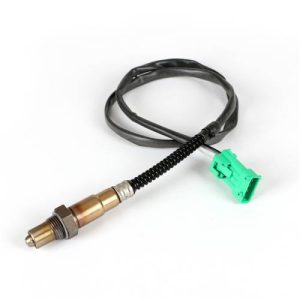
The 12014 Oxygen Sensor is an integral part of your Suzuki car's engine management system. It monitors the oxygen levels in the exhaust gases, providing critical data to the Engine Control Unit (ECU) for maintaining optimal air-to-fuel ratios. This, in turn, ensures efficient combustion and reduced emissions. A malfunctioning 12014 Oxygen Sensor can adversely affect performance, fuel efficiency, and even trigger the dreaded "Check Engine" light.
Identifying Signs of a Faulty 12014 Oxygen Sensor
Recognizing the signs of a failing 12014 Oxygen Sensor is paramount. Look out for irregular engine idling, reduced fuel efficiency, and a persistent "Check Engine" light on your dashboard. Additionally, your vehicle might fail emission tests due to increased emissions. These indicators signal the need for a replacement to restore your car's performance and efficiency.
12014 Oxygen Sensor Step-by-Step Replacement Guide
When the time comes to replace the 12014 Oxygen Sensor, follow these steps:
Safety First: Ensure your car is parked on a level surface, the engine is turned off, and the parking brake is engaged.
Locate the Sensor: Refer to your vehicle's manual to pinpoint the sensor's location, typically in the exhaust manifold or exhaust pipe.
Disconnect the Sensor: Carefully detach the sensor's electrical connector. Use penetrating oil to loosen any rusted connections if needed.
Unscrew and Remove: Employ an appropriate wrench or socket to unscrew the 12014 Oxygen Sensor from its mounting. Be cautious of hot components.
Install the New Sensor: Apply anti-seize compound to the threads of the new sensor. Screw it into the mounting, but avoid overtightening.
Reconnect: Attach the electrical connector to the new sensor.
Testing: Turn on your car and ensure the "Check Engine" light is no longer illuminated. Take a test drive to gauge improved performance.
Conclusion
In conclusion, understanding the 12014 Oxygen Sensor's significance and knowing how to replace it in your Suzuki car is vital for maintaining optimal performance and efficiency. By following this comprehensive guide, you can ensure a smooth replacement process and experience the benefits of a well-functioning 12014 Oxygen Sensor. As a responsible car owner, investing time in learning about your vehicle's components and maintenance can extend its lifespan and keep it running at its best.


Leave a Reply