
How to install the Oxygen Sensor Extension Harness? How to install the Oxygen Sensor Extension Harness?
The automotive world is driven by innovation, and sometimes, even the most advanced vehicles require modifications to optimize their performance. The oxygen sensor extension harness is a prime example of such a modification. This article will guide you through the process of installing the oxygen sensor extension harness, providing a step-by-step approach to ensure a seamless installation and enhanced sensor functionality.
Understanding the Oxygen Sensor Extension Harness
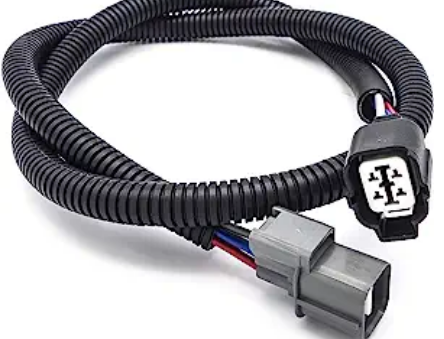
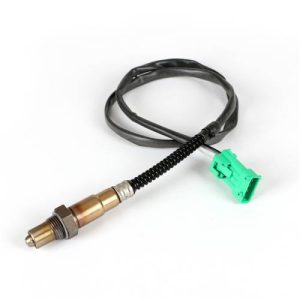
Before delving into the installation process, it's essential to understand what the oxygen sensor extension harness is and why it's used. The oxygen sensor, a vital component of a vehicle's emission control system, monitors the exhaust gases' oxygen content. However, in certain situations, such as engine swaps or exhaust system modifications, the standard sensor harness may not reach the intended location. This is where the oxygen sensor extension harness comes into play – it provides the necessary length to connect the sensor to its designated position.
Step-by-Step Installation Guide
Gather the Necessary Tools and Materials: Before you begin, ensure you have the required tools and materials, including the oxygen sensor extension harness, wire connectors, crimping tool, wire stripper, and protective gloves.
Locate the Oxygen Sensor: Identify the position where the oxygen sensor needs to be installed. This may involve crawling under the vehicle or accessing the exhaust system from the engine bay.
Disconnect the Sensor: If there's an existing oxygen sensor in place, carefully disconnect it from the vehicle's wiring harness. Be gentle to avoid damaging the sensor or the harness.
Prepare the Wires: Strip the insulation from the wires on both the oxygen sensor extension harness and the vehicle's wiring harness. Ensure that the wires are clean and free of debris.
Connect the Extension Harness: Use the wire connectors and the crimping tool to securely attach the extension harness wires to the vehicle's wiring harness. Match the wire colors and follow the manufacturer's guidelines for proper connections.
Route the Harness: Gently route the extension harness along the vehicle's frame, making sure it's secure and won't come into contact with moving parts or hot surfaces.
Connect the Sensor: Attach the oxygen sensor to the other end of the extension harness, following the manufacturer's instructions. Ensure that the sensor is positioned correctly and securely.
Test and Secure: Before finalizing the installation, conduct a test to ensure the sensor is functioning correctly. Start the vehicle and check for any error codes related to the oxygen sensor. Once confirmed, secure the extension harness and sensor in their designated locations.
In conclusion
installing an oxygen sensor extension harness can be a practical solution when modifications require repositioning the sensor. Following this step-by-step guide will help you seamlessly integrate the extension harness into your vehicle's emission control system, ensuring proper functionality and performance. Remember, proper installation is crucial for accurate sensor readings and optimal engine performance. If you're not confident in performing this installation yourself, it's recommended to seek assistance from a professional mechanic to ensure a successful and safe modification.


Leave a Reply