
The Honda Accord is a popular and reliable vehicle known for its impressive performance and fuel efficiency. However, like all cars, it requires regular maintenance to keep running smoothly. One essential component that demands attention is the 234-5010 Oxygen Sensor Upstream, specifically the 234-5010 Oxygen Sensor model. In this article, we will guide you through the process of replacing the upstream oxygen sensor in the Honda Accord, ensuring optimal performance and fuel economy.
Understanding the Role of 234-5010 Oxygen Sensor Upstream in Honda Accord
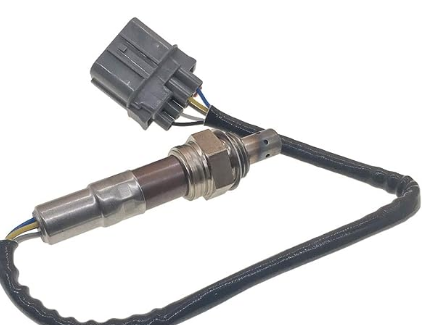
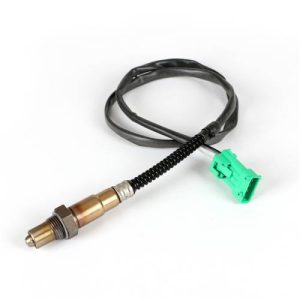
The 234-5010 Oxygen Sensor Upstream plays a crucial role in the Honda Accord's engine management system. As part of the emissions control system, this sensor is located in the exhaust pipe before the catalytic converter. Its primary function is to measure the oxygen content in the exhaust gases and send this data to the engine control unit (ECU). The ECU then adjusts the air-fuel mixture to ensure efficient combustion, reduced emissions, and Honda Accord improved fuel economy. Regularly replacing the upstream oxygen sensor is essential to maintain the Accord's performance and comply with emission regulations.
Step-by-Step Guide to Replace the 234-5010 Oxygen Sensor Upstream
Gather the necessary tools: Before starting the replacement process, ensure you have the required tools, including a socket wrench, oxygen sensor socket, penetrating oil, and safety gloves.
Locate the upstream oxygen sensor: The 234-5010 Oxygen Sensor Upstream is typically located in the exhaust pipe, near the engine's manifold. Follow the exhaust pipe until you find the sensor.
Disconnect the electrical connector: Carefully detach the electrical connector that connects the 234-5010 Oxygen Sensor Upstream to the wiring harness. Gently press the tab and pull the connector apart.
Remove the sensor: Use the oxygen sensor socket and a socket wrench to loosen and remove the sensor from the exhaust pipe. In some cases, the sensor may be challenging to loosen due to corrosion. Apply penetrating oil to the sensor's threads and let it sit for a few minutes before attempting to remove it.
Install the new sensor: Take the new 234-5010 Oxygen Sensor Upstream and screw it into the exhaust pipe by hand. Then, use the oxygen sensor socket and wrench to tighten it securely. Ensure not to over-torque the sensor, as it could cause damage.
Reconnect the electrical connector: Once the new 234-5010 Oxygen Sensor Upstream is in place, reattach the electrical connector to the sensor's wiring harness.
Test the replacement: Start the engine and check if the check engine light is off. The replacement should be successful if there are no error codes related to the oxygen sensor.
Conclusion:
Properly maintaining the Honda Accord is essential for optimal performance and fuel efficiency. Replacing the 234-5010 oxygen sensor upstream is a straightforward process that can significantly impact the Honda Accord's emissions and fuel economy. By following the step-by-step guide provided in this article, you can ensure that your Honda Accord continues to deliver a smooth and efficient driving experience. Regularly inspect and replace the upstream oxygen sensor as needed to keep your Honda Accord running at its best for years to come.


Leave a Reply