
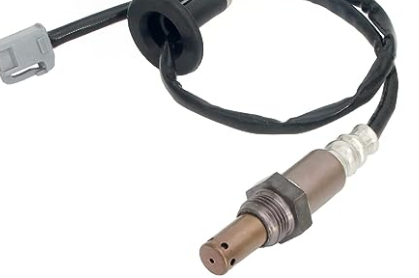
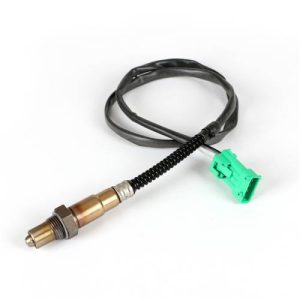
How to Replace the 234-4233 Downstream Oxygen Sensor in Your Toyota 1.8L
Greetings, automotive enthusiasts and DIY mechanics! Performing maintenance tasks on your vehicle can be both rewarding and essential for its longevity and efficiency. One such task that demands your attention is replacing the downstream oxygen sensor, specifically the 234-4233 model, in your Toyota 1.8L engine. In this comprehensive guide, we will walk you through the precise steps of replacing the 234-4233 downstream oxygen sensor, ensuring that your Toyota 1.8L continues to run optimally. Whether you're a seasoned DIYer or just starting out, this guide is designed to help you successfully complete this task with confidence.
Preparations before replacing the 234-4233 downstream oxygen sensor
Gathering the Necessary Tools and Materials
Before you dive into the replacement process, it's crucial to have the right tools and materials at hand. For replacing the 234-4233 downstream oxygen sensor in your Toyota 1.8L, you'll need the sensor itself, a wrench or socket set, a jack and jack stands (if required), safety gloves, and safety goggles. It's also advisable to have a repair manual specific to your Toyota model for reference.
Removing the Old 234-4233 downstream oxygen sensor
Locating the Sensor
The 234-4233 downstream oxygen sensor is situated in the exhaust system, typically near the catalytic converter. Refer to your vehicle's repair manual to pinpoint its exact location.
Safety First: Jacking Up the Vehicle
If necessary, jack up the Toyota 1.8L vehicle and secure it with jack stands to create ample space for the replacement process. Ensure the vehicle is on a level surface and the parking brake is engaged.
Disconnecting the Sensor
Use the appropriate wrench or socket to disconnect the electrical connector of the old 234-4233 downstream oxygen sensor. This connector is usually found near the sensor itself.
Loosening and Removing the Sensor
With the wrench or socket, carefully loosen and remove the old sensor from the exhaust pipe. Remember, some sensors may require penetrating oil for easier removal.
Installing the New 234-4233 downstream oxygen sensor
Preparing the New Sensor
Before installing the new 234-4233 downstream oxygen sensor, make sure to inspect the threads and apply an anti-seize compound if recommended by the manufacturer. This helps prevent future difficulties when replacing the sensor again.
Installing the New Sensor
Thread the new sensor into the exhaust pipe by hand to avoid cross-threading. Once it's threaded properly, use the wrench or socket to tighten it securely. Be cautious not to overtighten, as the sensor could be damaged.
Reconnecting the Electrical Connector
Gently reconnect the electrical connector to the new 234-4233 downstream oxygen sensor. Ensure that it clicks into place securely.
Conclusion
replacing the 234-4233 downstream oxygen sensor in your Toyota 1.8L is a task that, with the right tools and careful attention, can be successfully accomplished. By following these step-by-step instructions, you're ensuring the continued efficiency and performance of your vehicle. Remember, if you're ever unsure about any part of the process, it's always a good idea to consult your vehicle's repair manual or seek assistance from a qualified mechanic. With proper maintenance and attention, your Toyota 1.8L will continue to provide reliable and optimal performance for miles to come.


Leave a Reply